This is my AutoPilot demo. There are many like it, but this one is mine.
So as AutoPilot gains popularity, I thought I'd make a post about it. This will be the first part of a series that I'll post to show you how you can setup AutoPilot. I'll then go on to show you how to Deploy Office 365 Pro Plus package and publish Win32 applications through Intune and hopefully some ideas and considerations for you to take forward into production.
(Stupidly creating this in Word, then into Google Doc and finally to here has messed around with the image sizes. I might get around to correcting this but then again I might not. if you are having trouble seeing them just zoom in using your browser, Ctrl+Mouse Wheel for example.)
I'm using my home lab running Windows 10 with Hyper-V enabled. I have an Office 365 tenant with an Intune license assigned to my account. So let's get going.........
Create a new Virtual Machine to use for the deployment
Within Hyper-V, create a new Virtual Machine and in this demo, I’m using the Windows 10 ISO from the Microsoft Evaluation Center - https://www.microsoft.com/en-gb/evalcenter/
(At the time of writing the ISO file was named 17763.107.101029-1455.rs5_release_svc_refresh_CLIENTENTERPRISEEVAL_OEMRET_x64FRE_en-gb.iso)
Boot the Virtual Machine and run through the initial Windows 10 Setup, as instructed, Press any key to boot from CD or DVD….

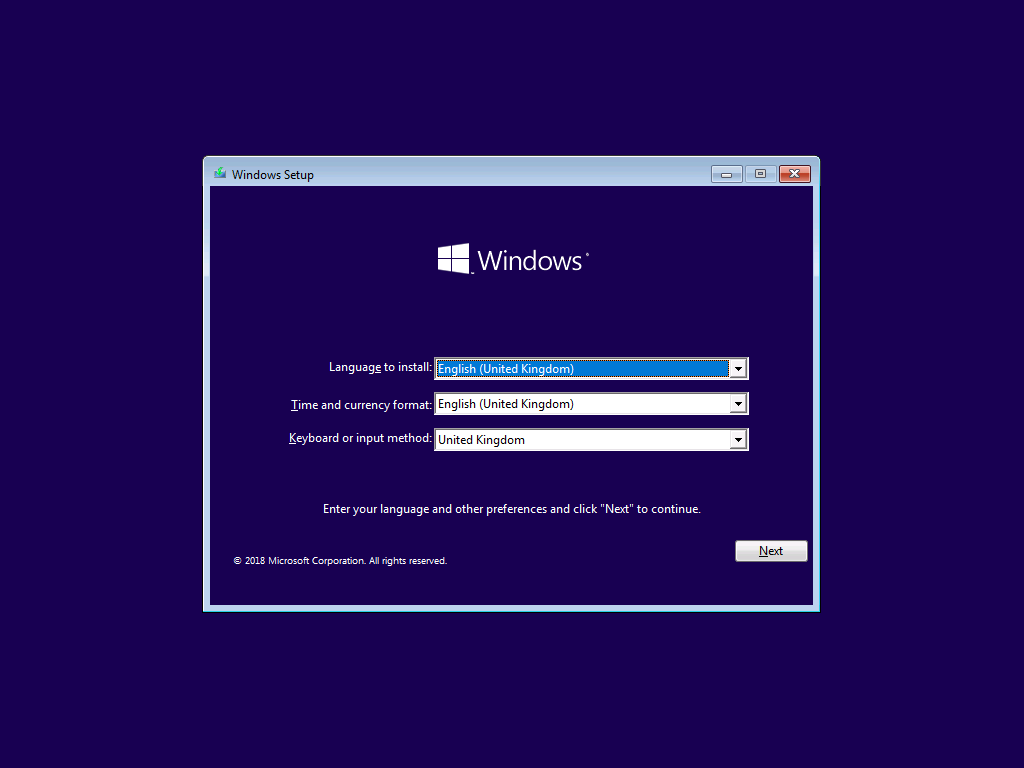
Enter your regional settings and select Next
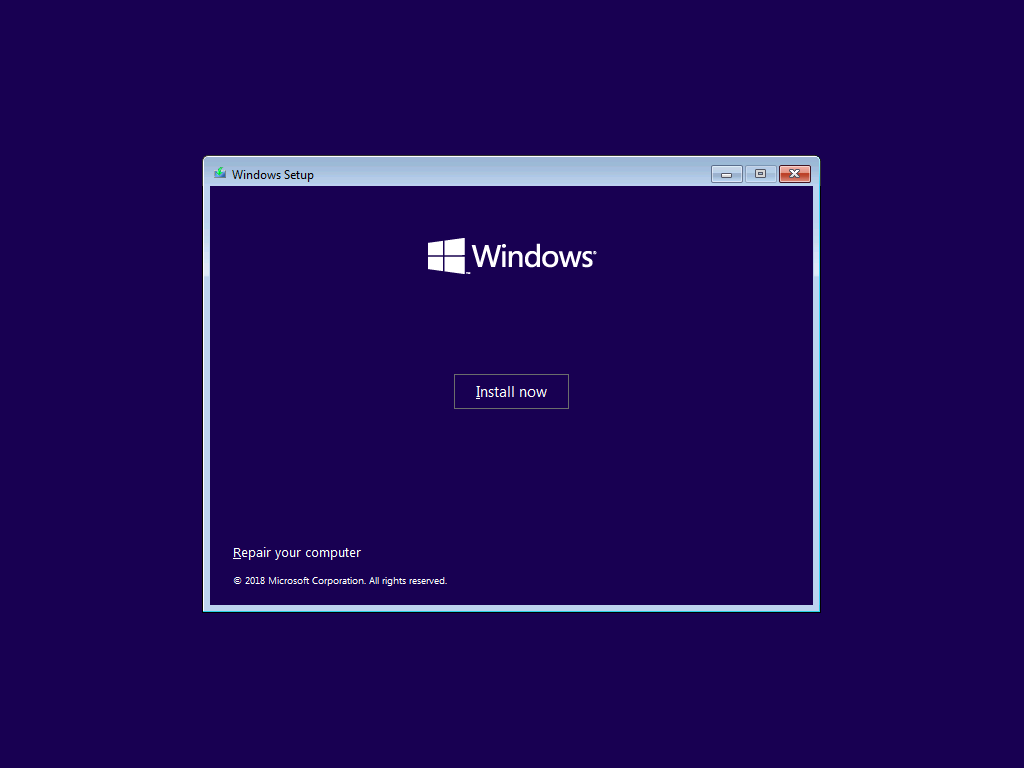
Select Install Now

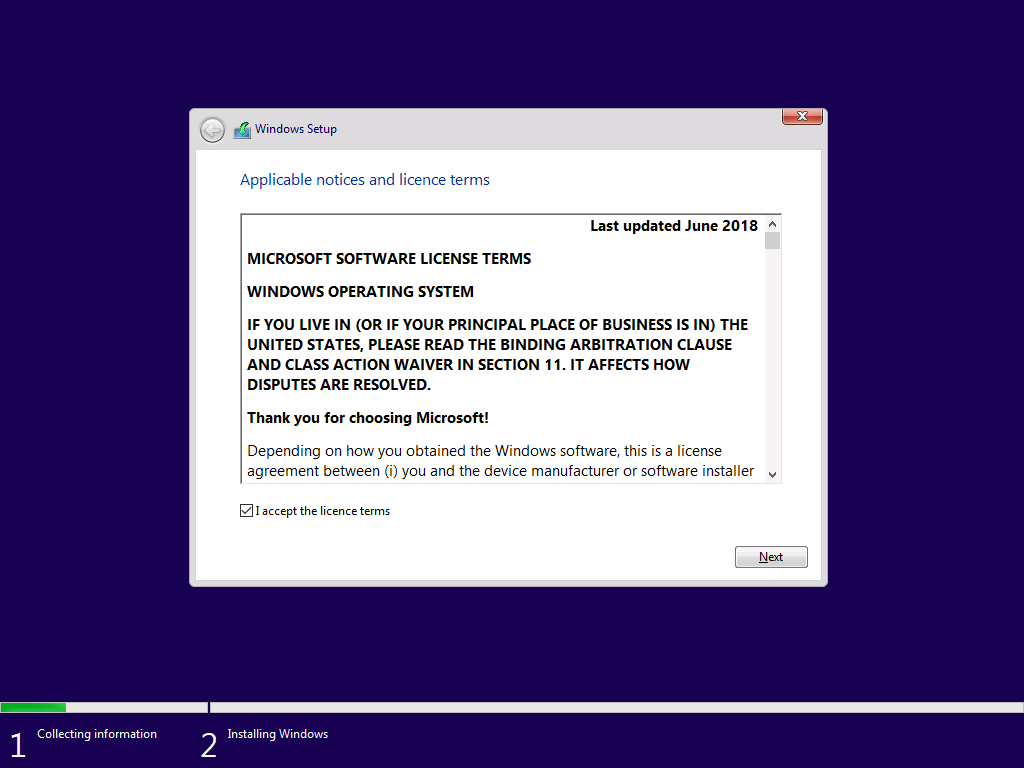
Check the I accept the license terms check box and select Next
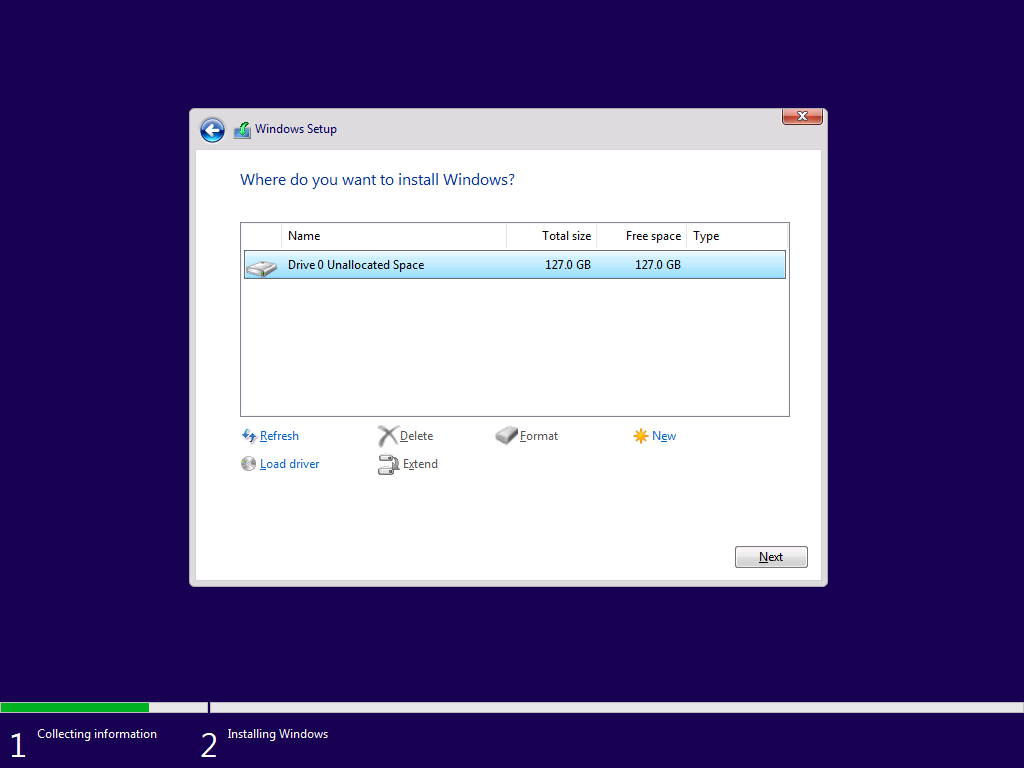
Select Custom
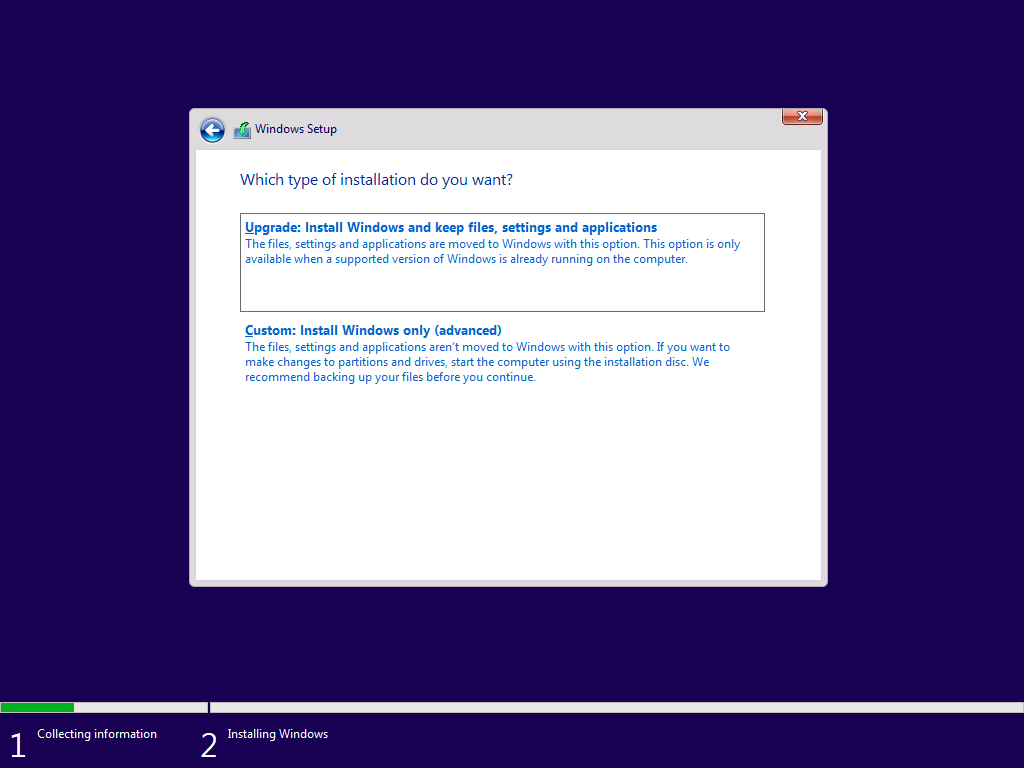
Select Next

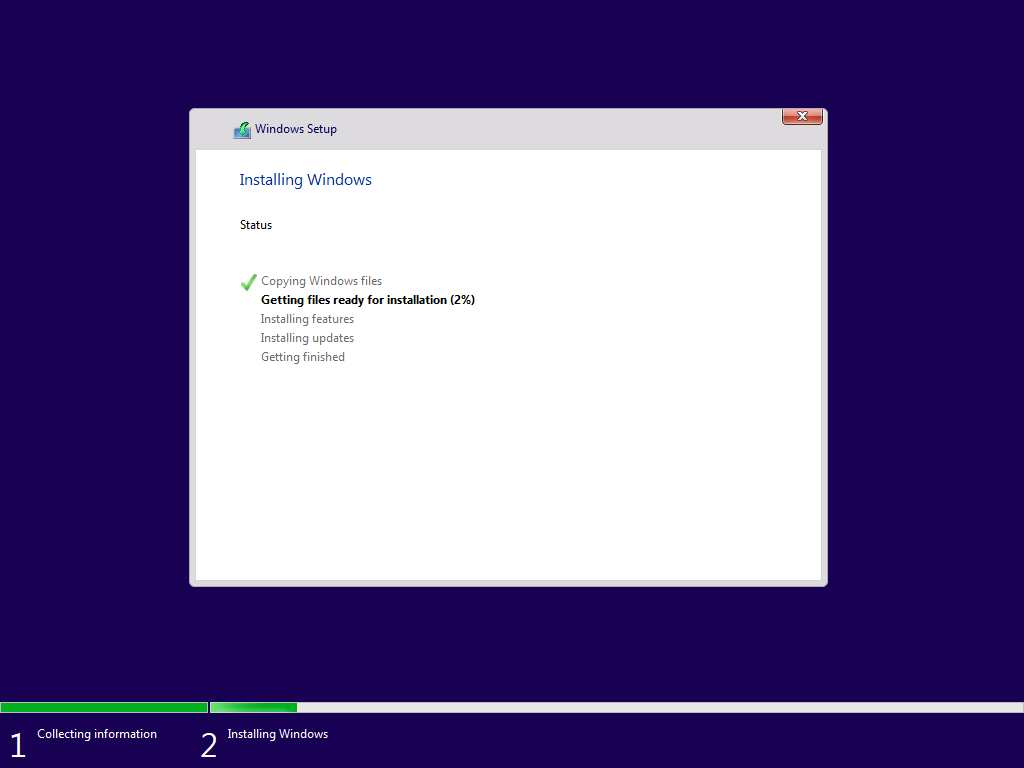
Windows will now run through the installation process


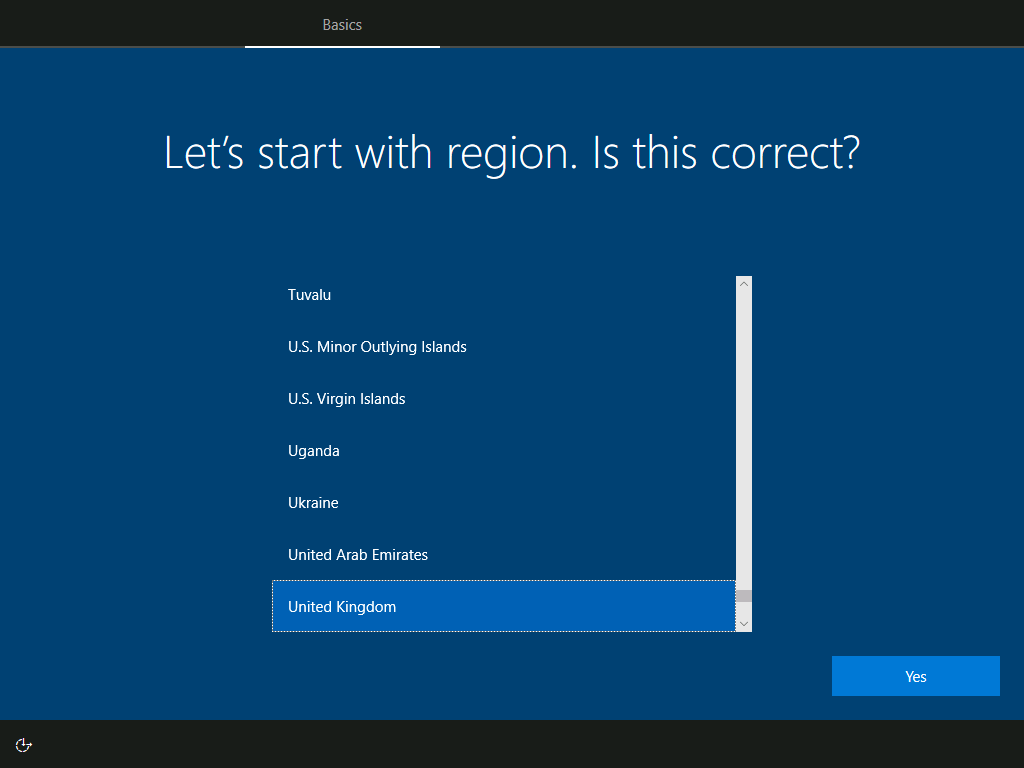
Select your region and select Yes
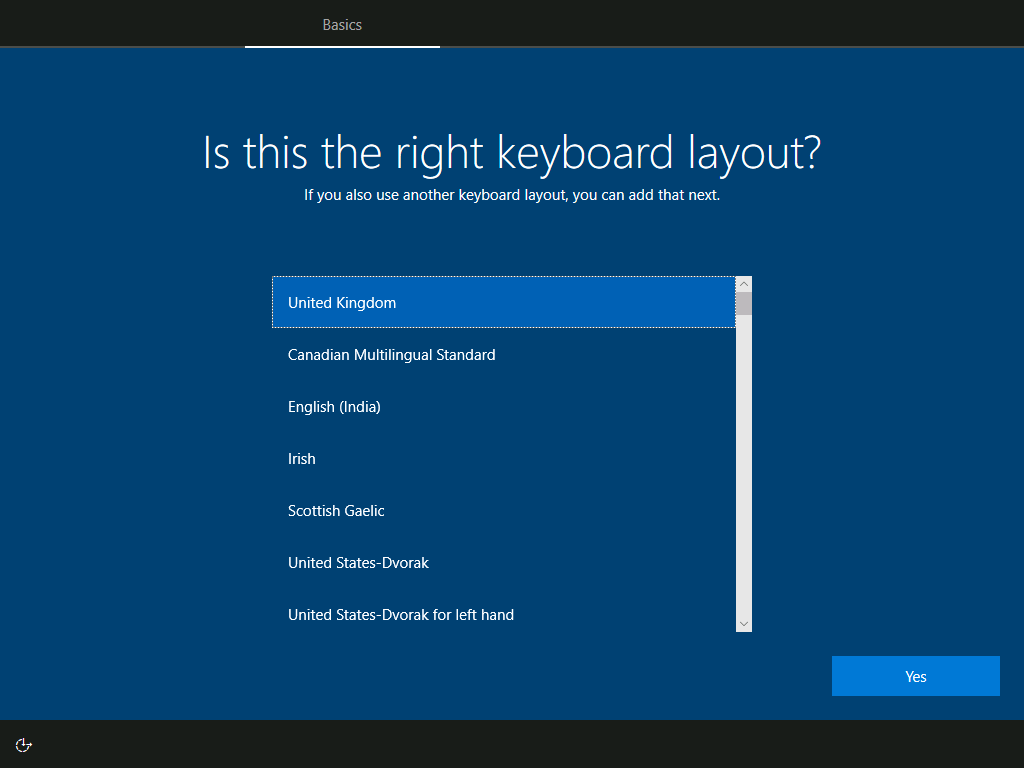
If required add a keyboard layout or select Skip
If required add a second keyboard layout or select Skip

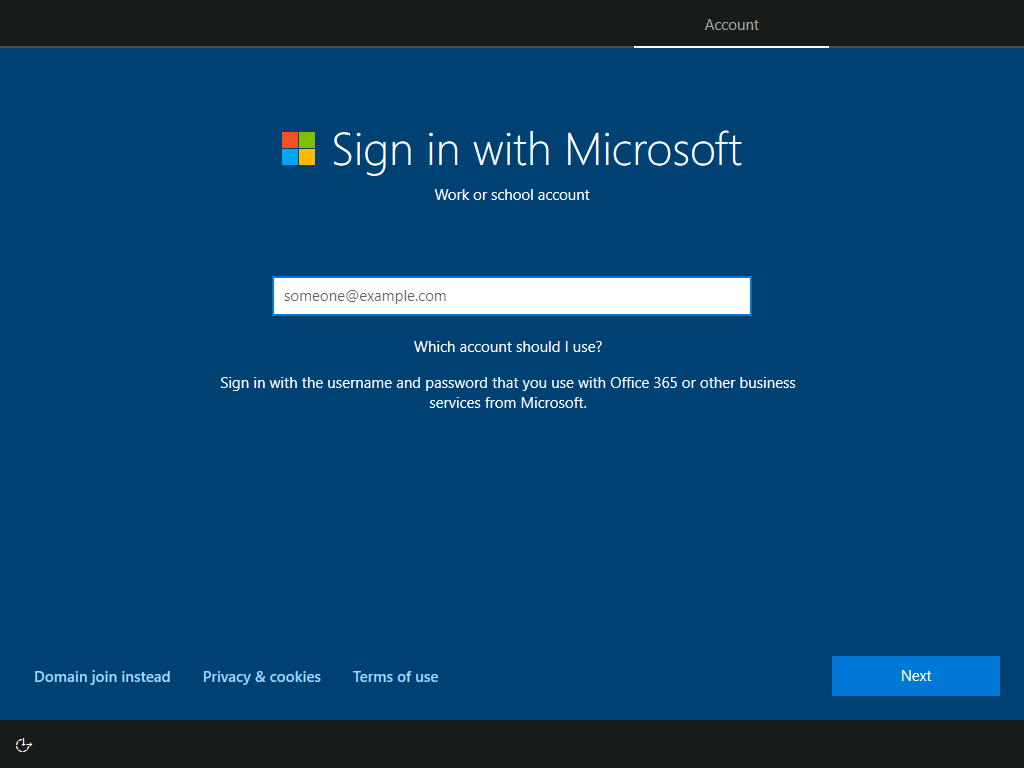
At this time well select Domain join instead
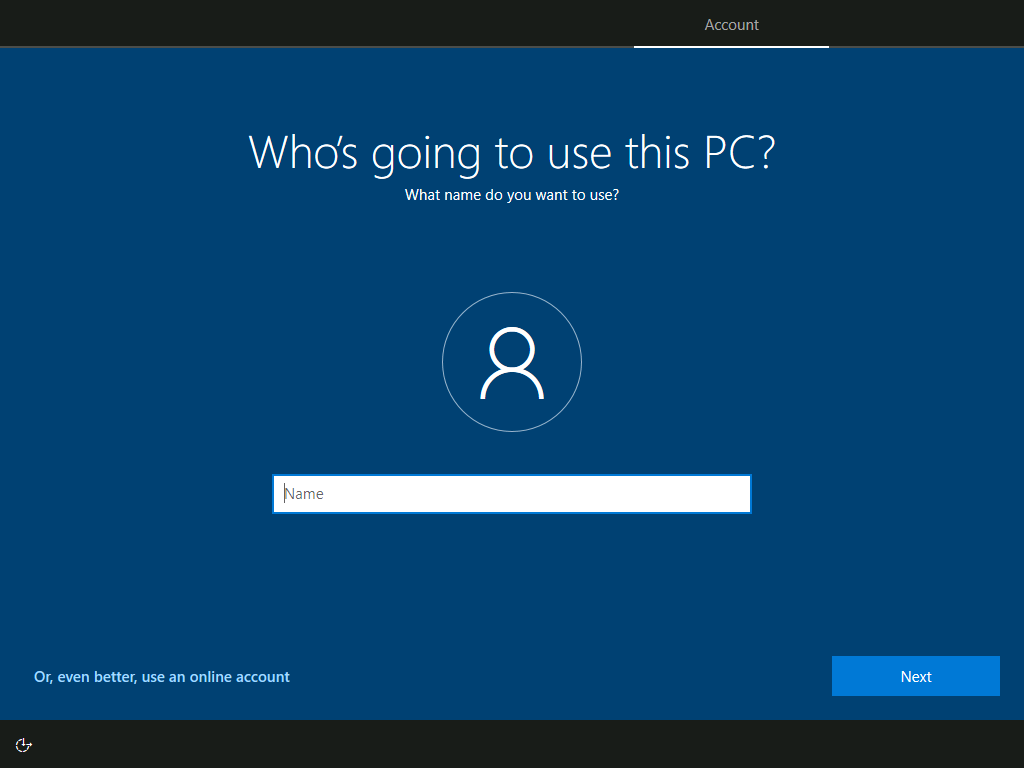
Enter a name (Bob, John, Julie, Sarah, Admin, Spongebob, WindowsMcWindowsFace your choice!) and select Next
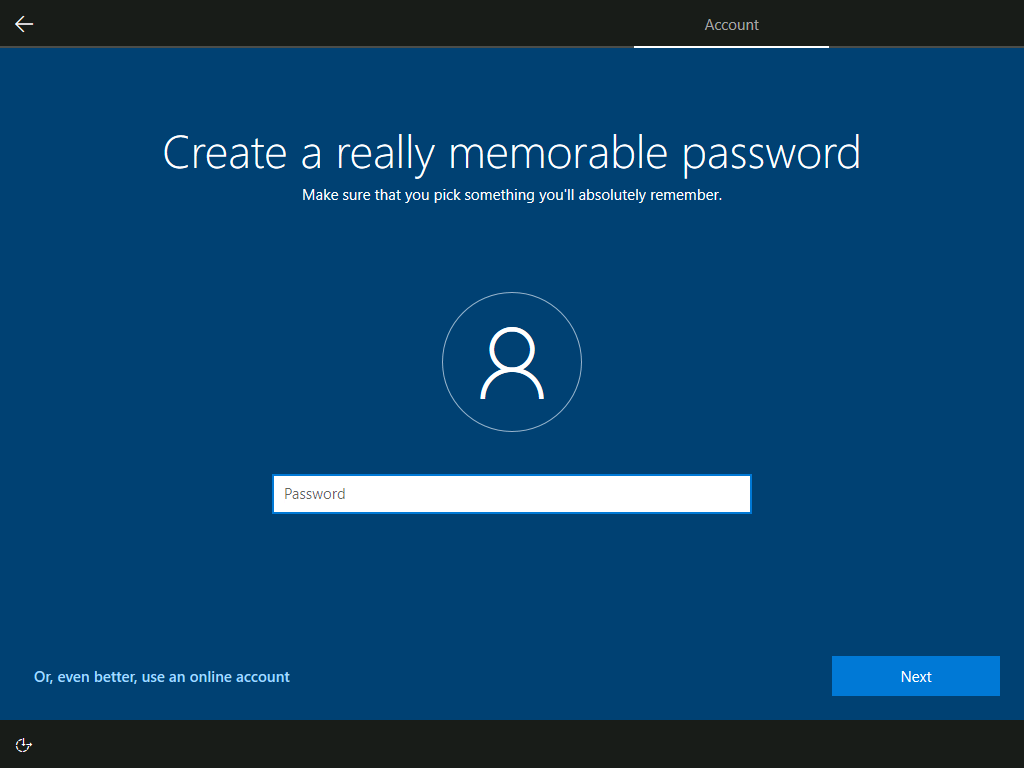
Create a password and select Next
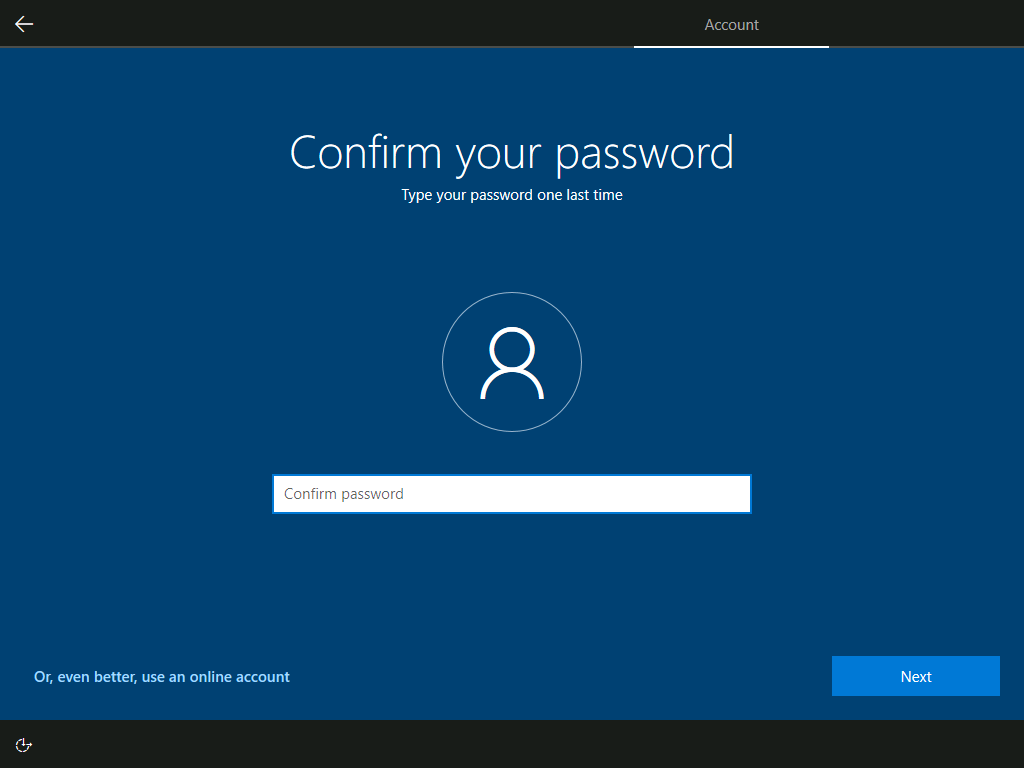
Confirm your password and select Next
Enter the answers to the Three security questions and Select Next at each one

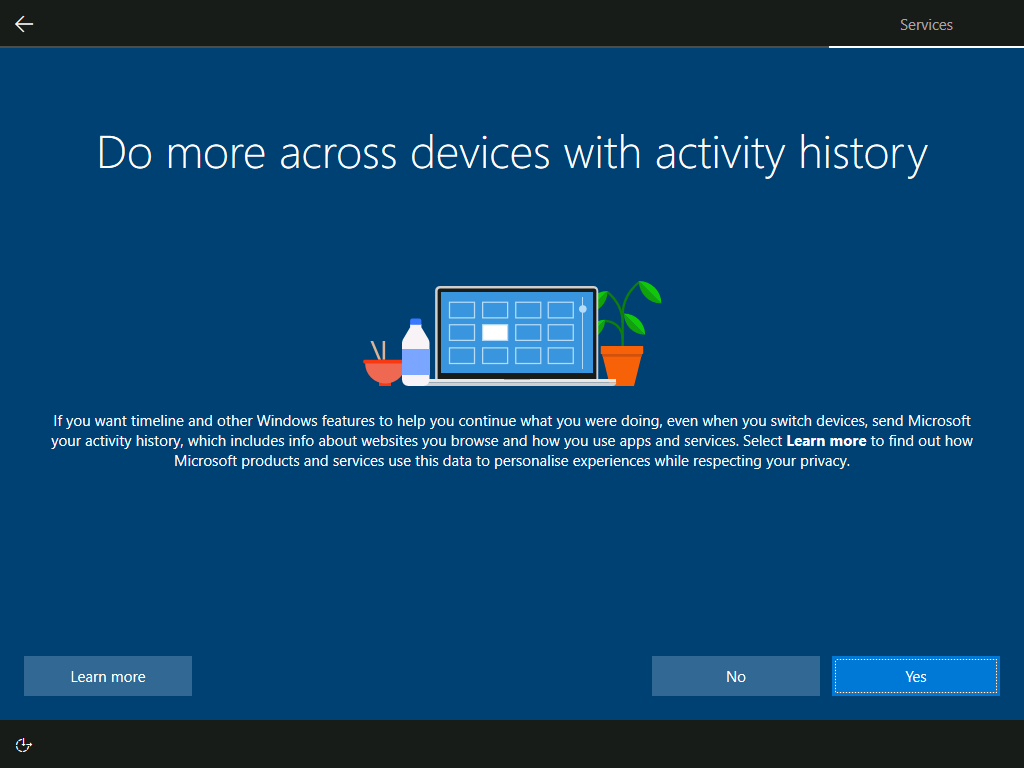
Select Decline (or Accept)

Select No (or Yes)
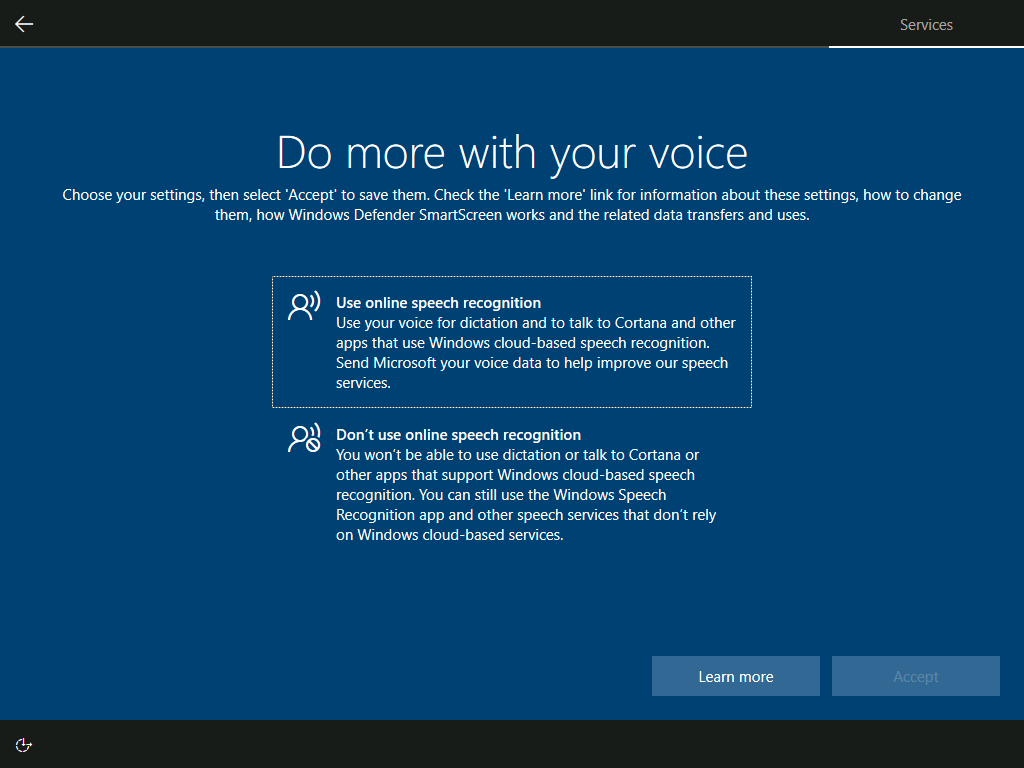
Select Use (or Don’t use)
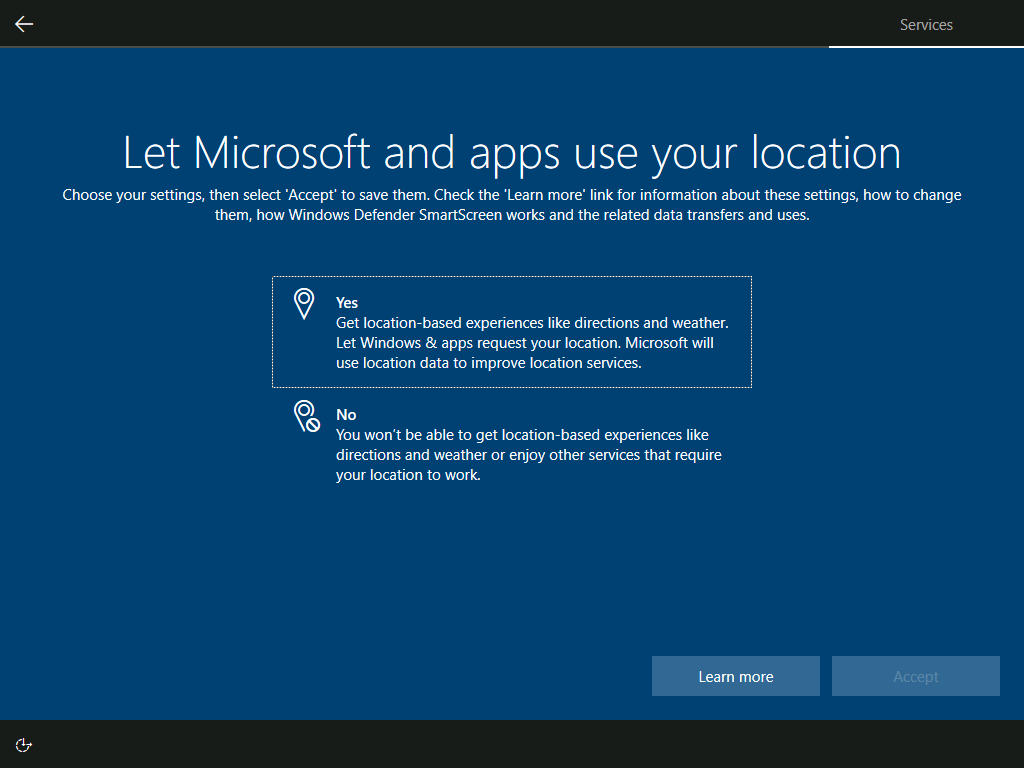
Select No (or Yes) and select Accept
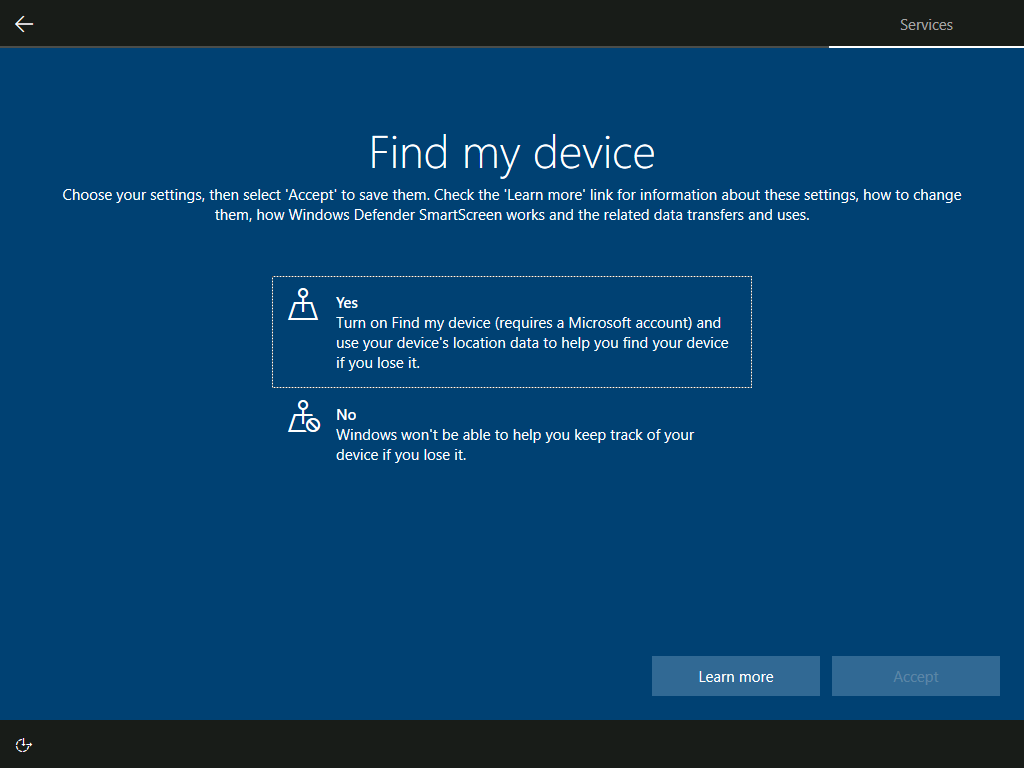
Select No (or Yes) and select Accept
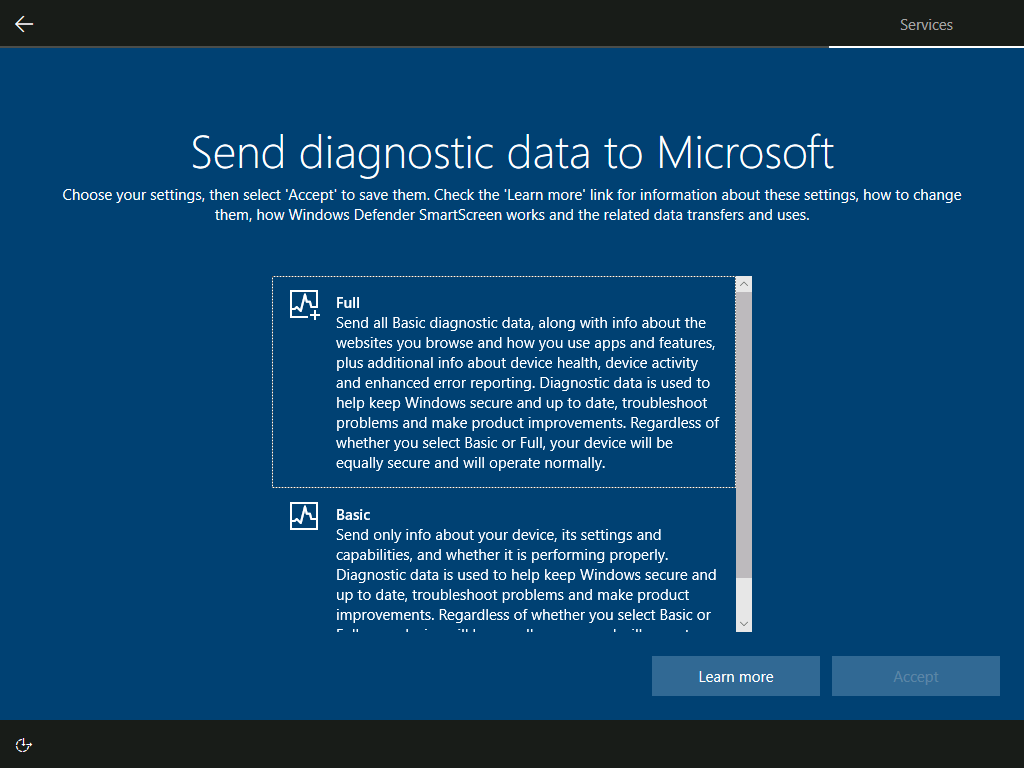
Select Basic (or Full) and select Accept
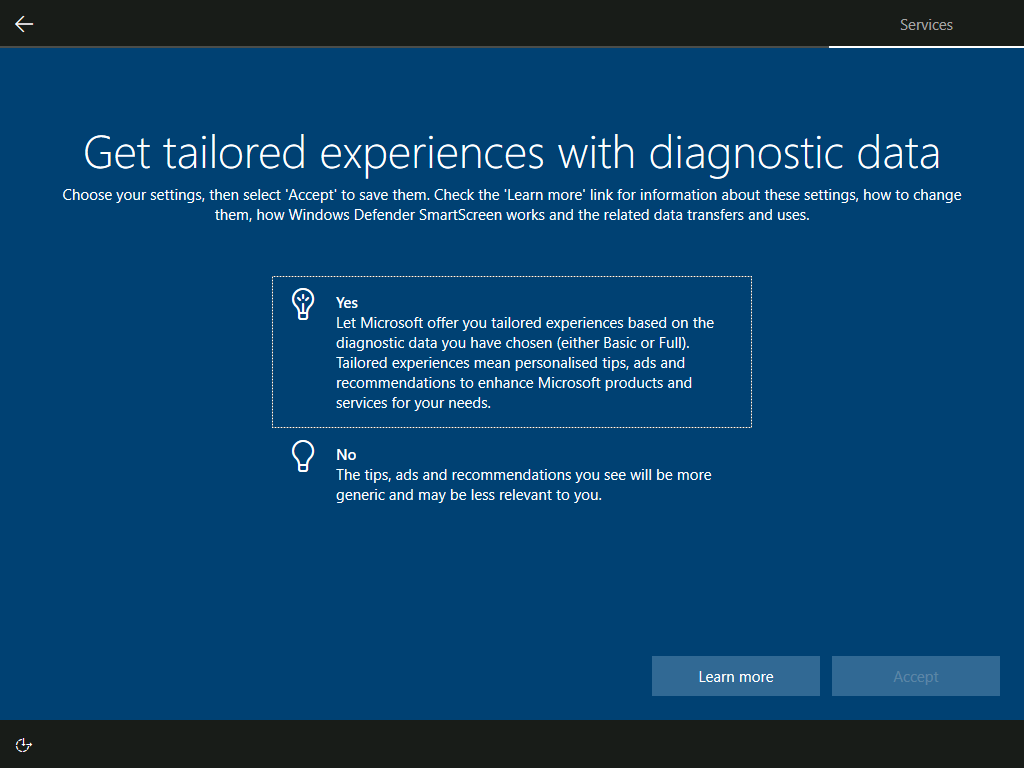
Select No (or Yes) and select Accept

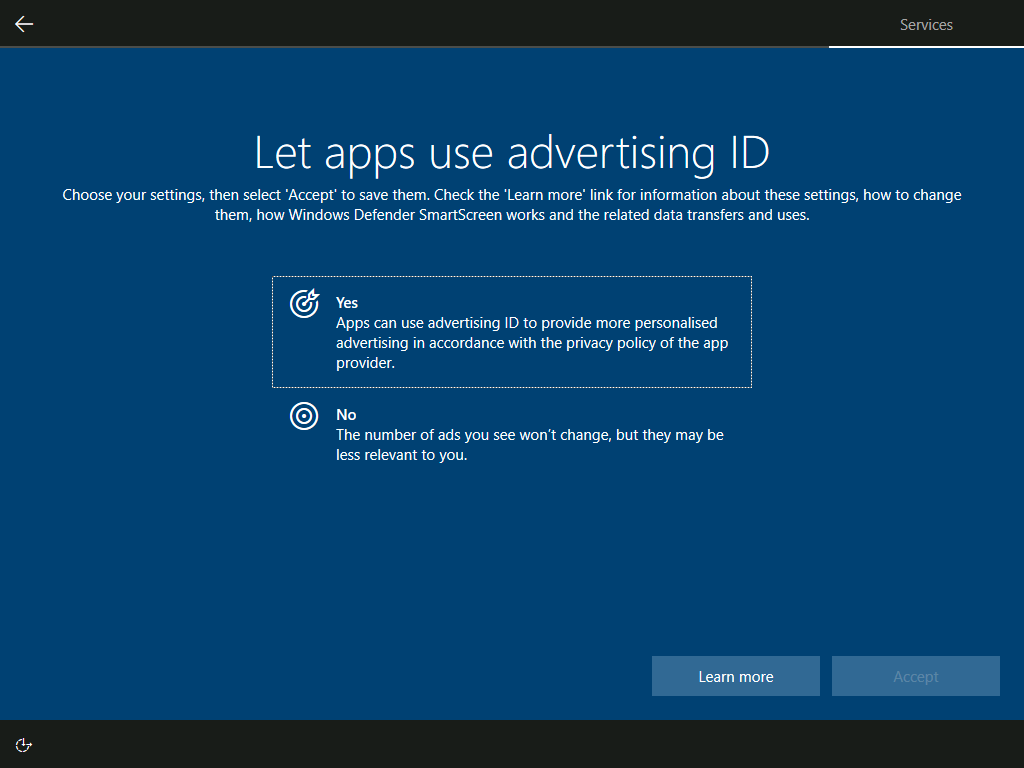
Select No (or Yes) and select Accept
Select No (or Yes) and select Accept
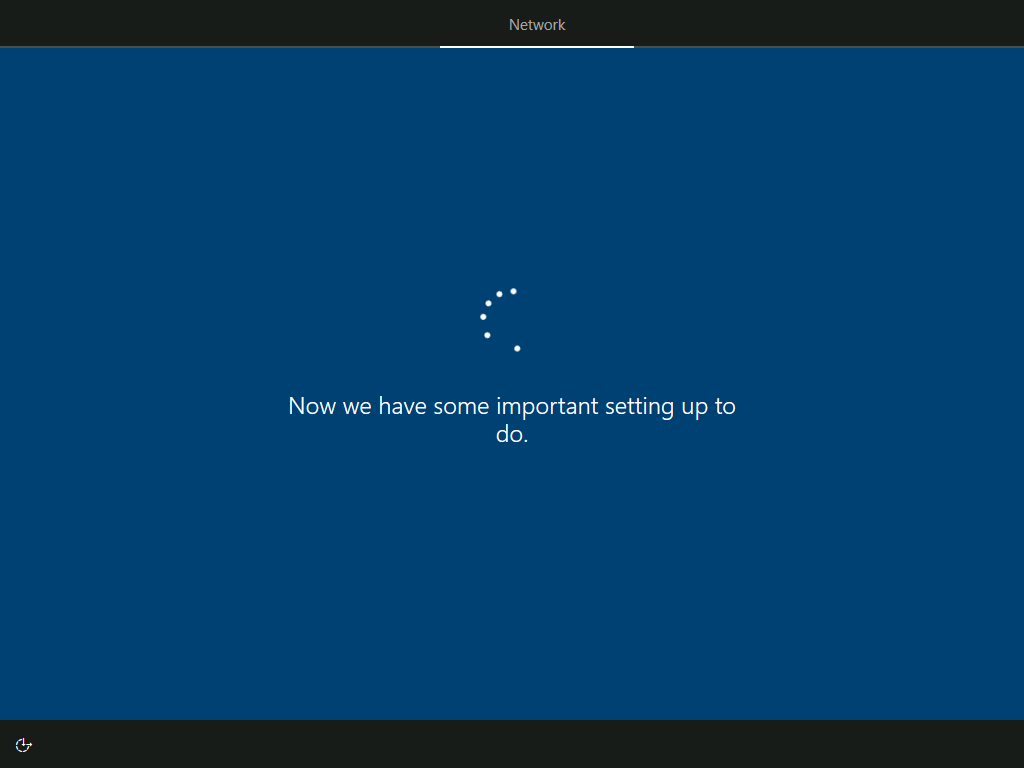
Now some ‘magic’ happens

And you’re now presented with the Windows Desktop

Collect the required AutoPilot hardware ID
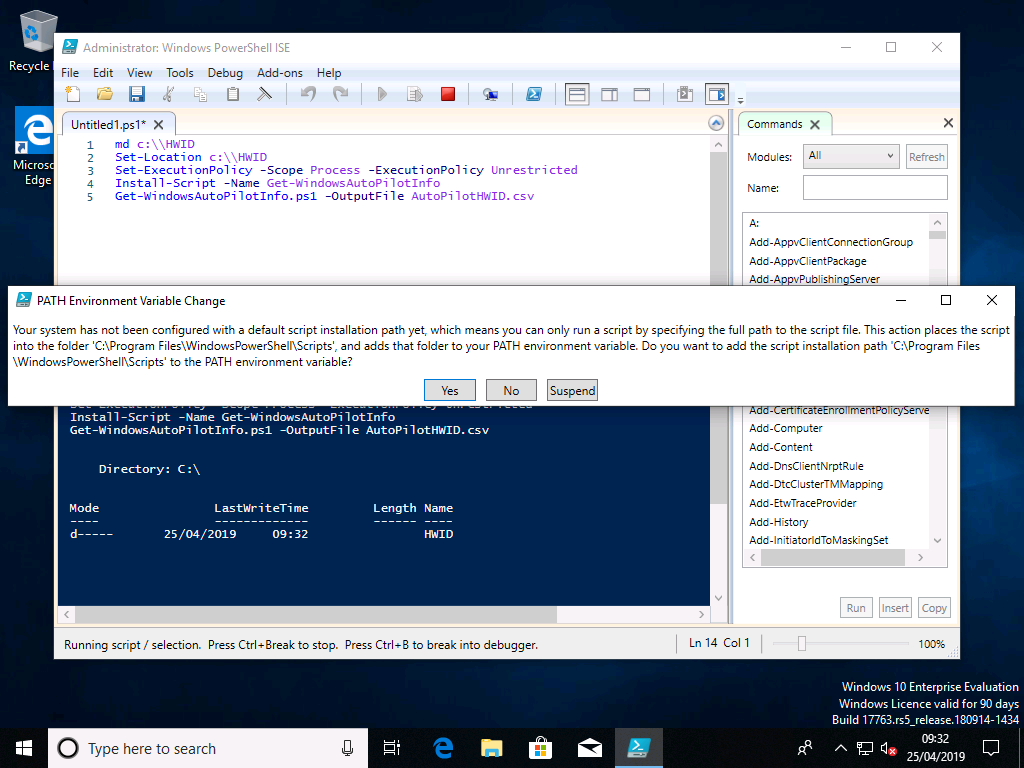
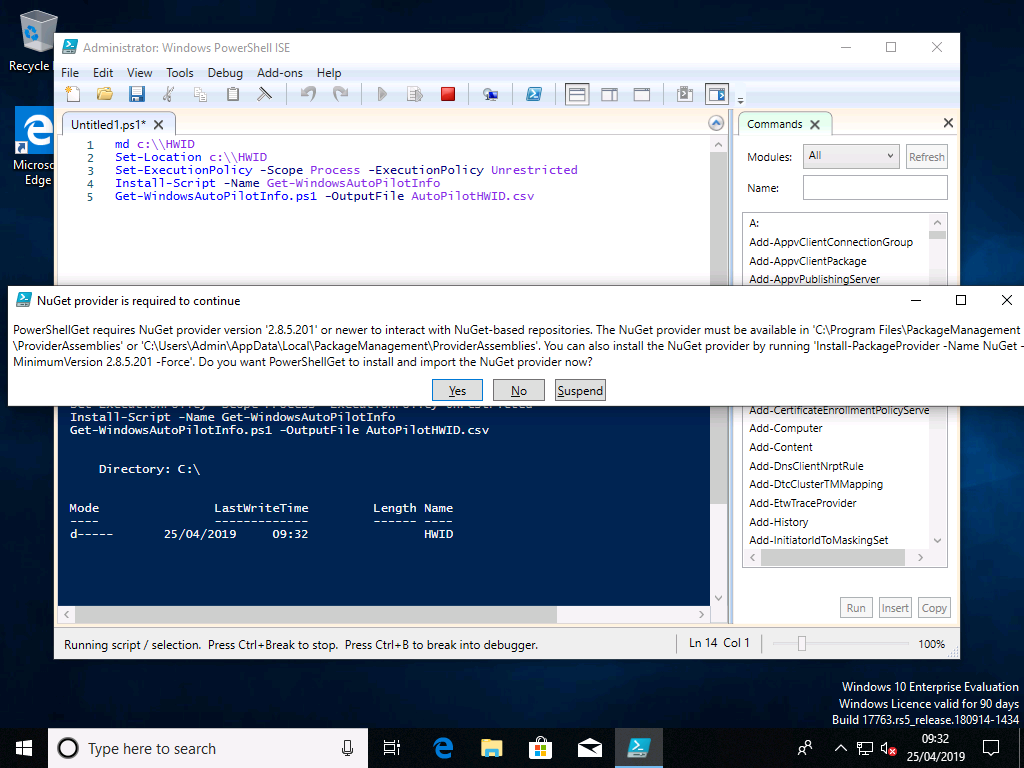
Run PowerShell ISE as admin and enter the following (which is taken from - https://docs.microsoft.com/en-us/windows/deployment/windows-autopilot/add-devices#collecting-the-hardware-id-from-existing-devices-using-powershell)
md c:\\HWID
Set-Location c:\\HWID
Set-ExecutionPolicy -Scope Process -ExecutionPolicy Unrestricted
Install-Script -Name Get-WindowsAutoPilotInfo
Get-WindowsAutoPilotInfo.ps1 -OutputFile AutoPilotHWID.csv

Select Yes

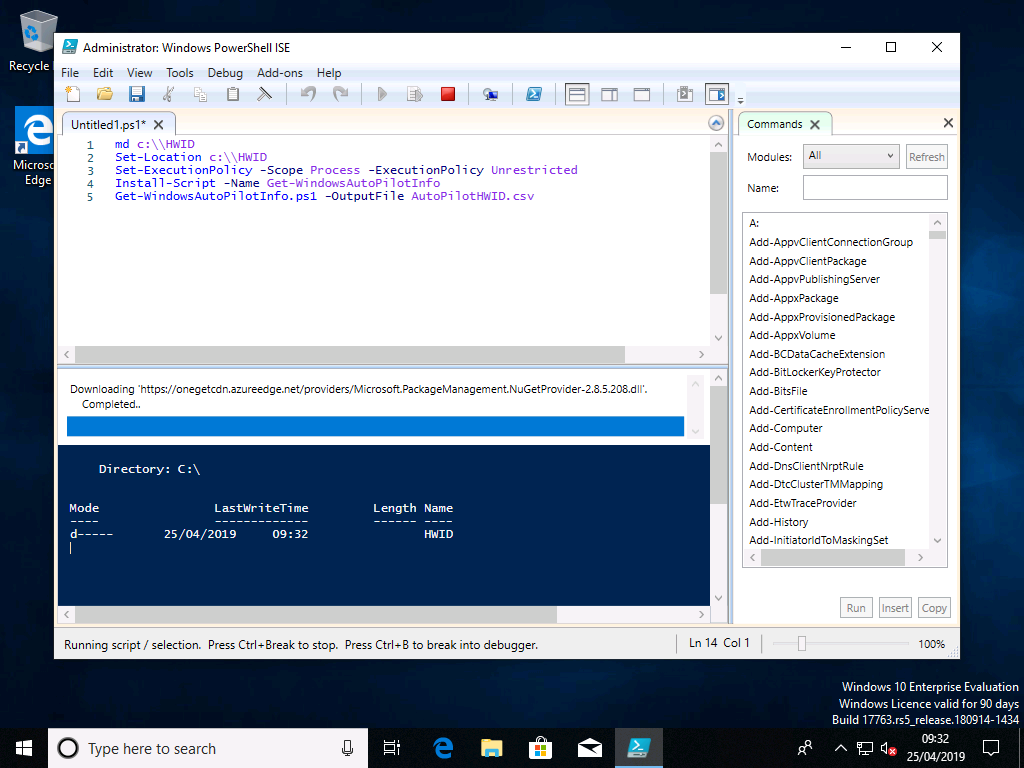
Select Yes
Select Yes
This should now run
Select Yes

And we’re finished

Using Explorer open the C:\HWID folder and confirm you have your AutoPilotHWID.csv file and that is contains the hardware hash of the Virtual Machine

Upload your Hardware ID into the Microsoft Store for Business
Now open a browser (IE or Edge) and authenticate to Microsoft Store for Business - https://businessstore.microsoft.com

(You can do this from the VM or save/upload your csv file to OneDrive/SharePoint or a local drive on the host so you can access this.)
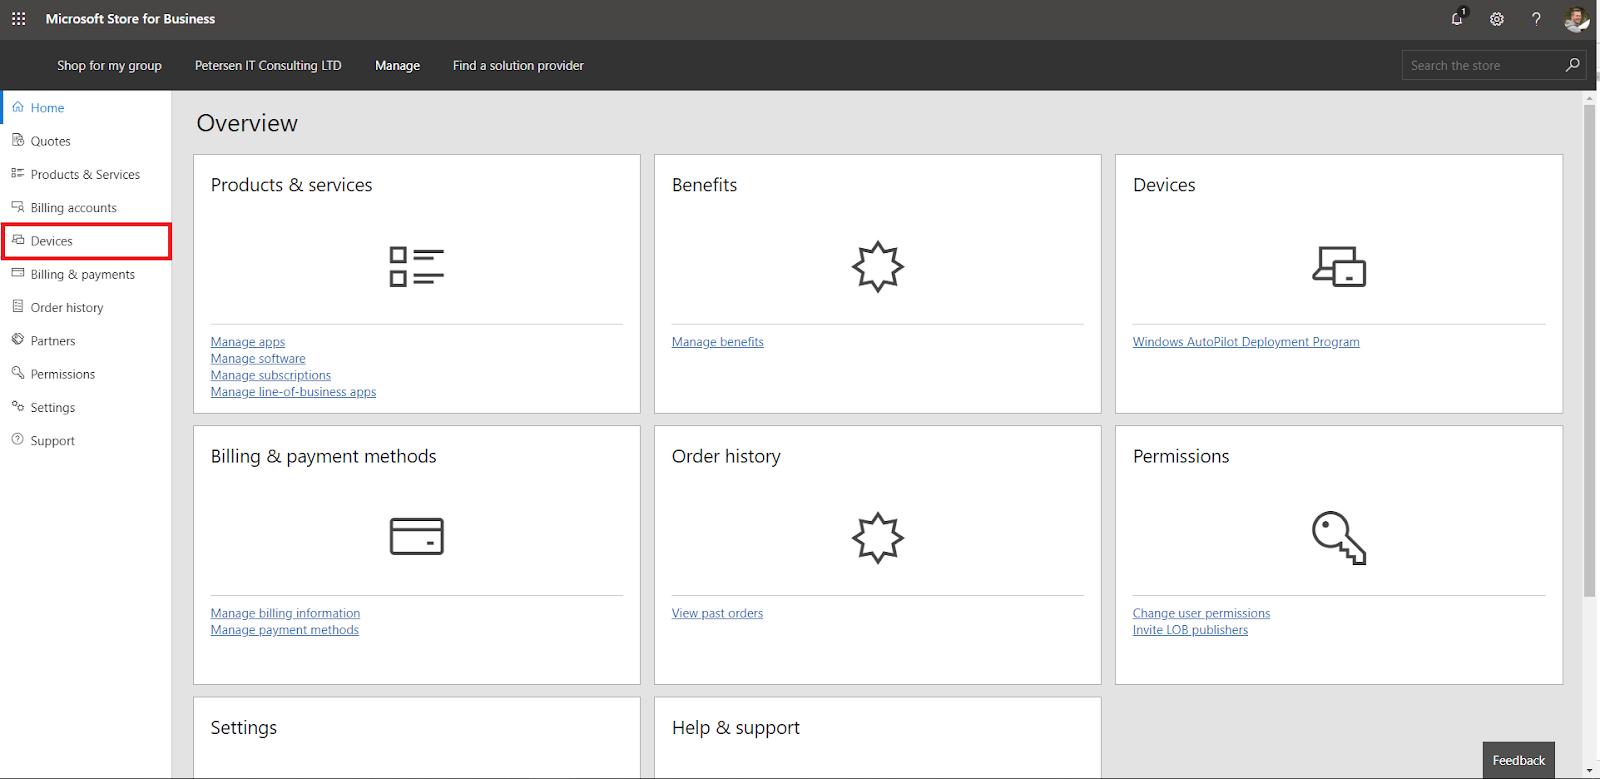
Upload your CSV file into the Devices section (https://businessstore.microsoft.com/en-gb/manage/dashboard), select Devices
Select Add devices

Browse to your CSV file and select Open

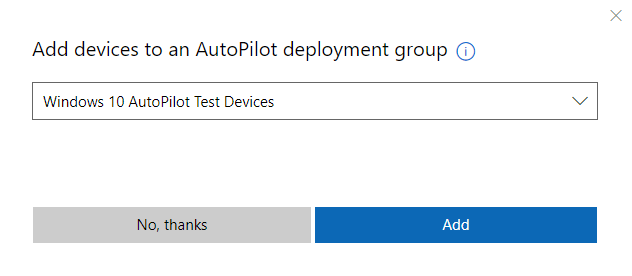
Add the device to the correct AutoPilot deployment group (if you haven’t created one you can do so at this time by just entering a name)
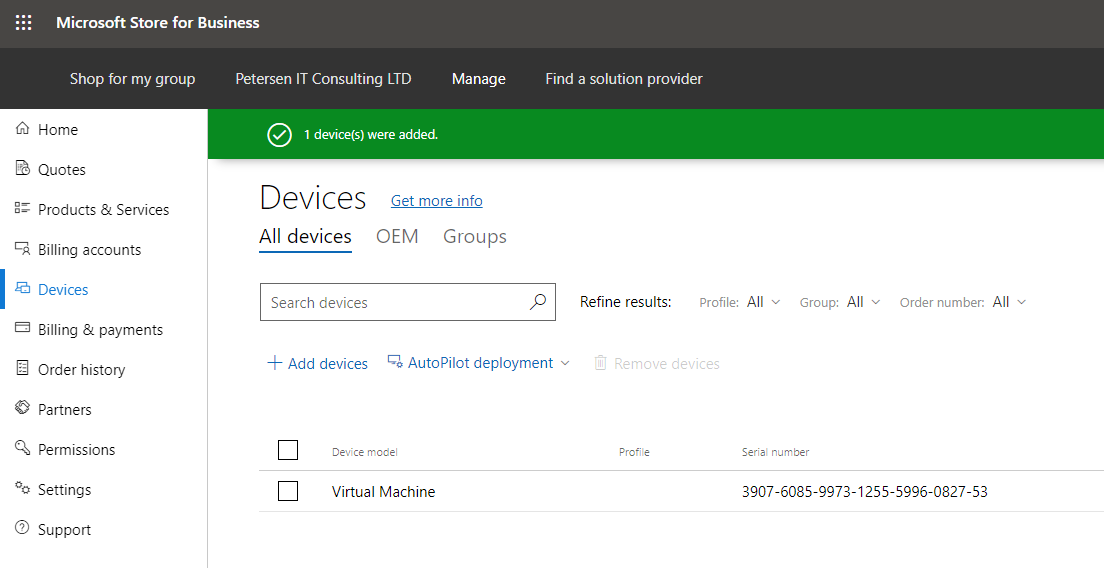
You will now see this device is being processed

You will now see a nice green tick to tell you ‘1 device(s) were added.’
Create a new AutoPilot deployment profile
Select AutoPilot deployment and then select Create a new profile

You will be presented with this page
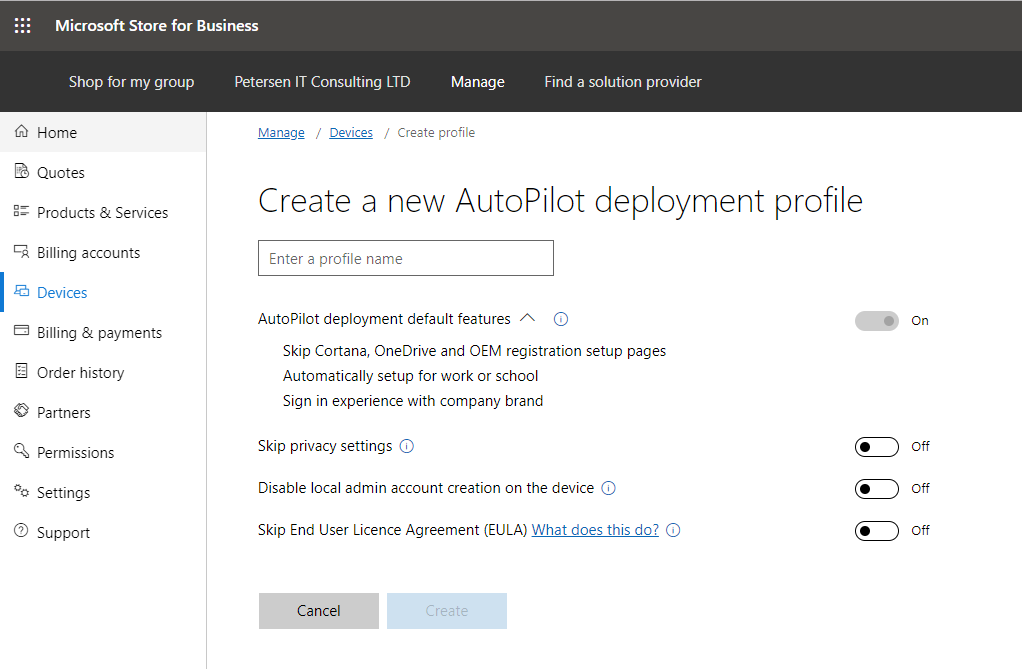
Enter a name for your profile, and configure your desired options

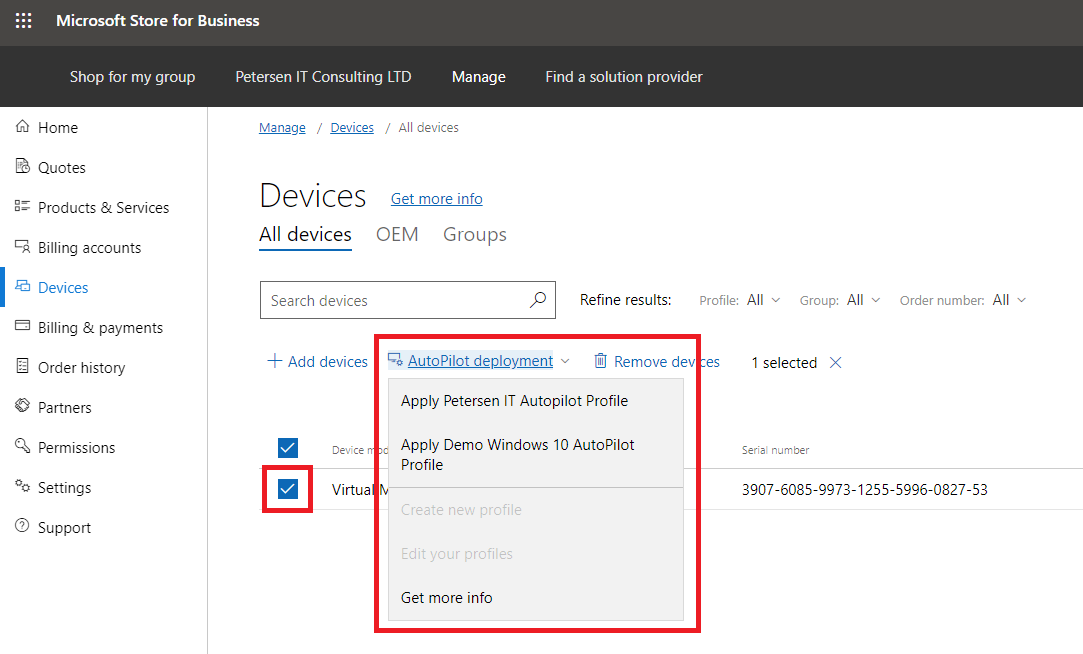
Select your Virtual Machine you have just imported and then select ‘AutoPilot deployment’
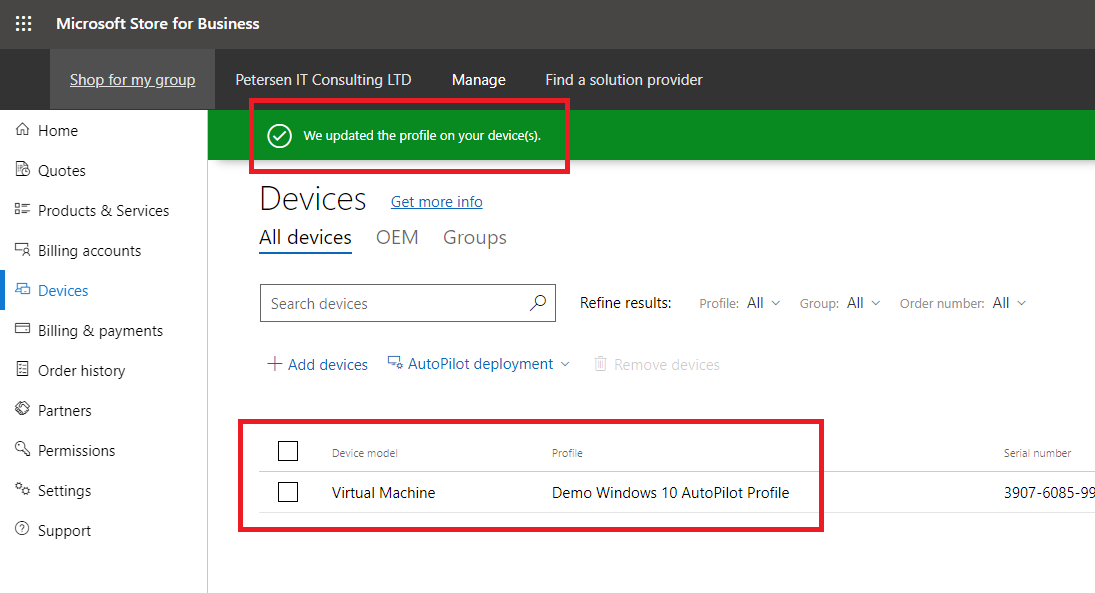
You will now see another nice green tick with ‘We updated the profile on your device(s)’ and you’ll see the profile listed against your Virtual Machine
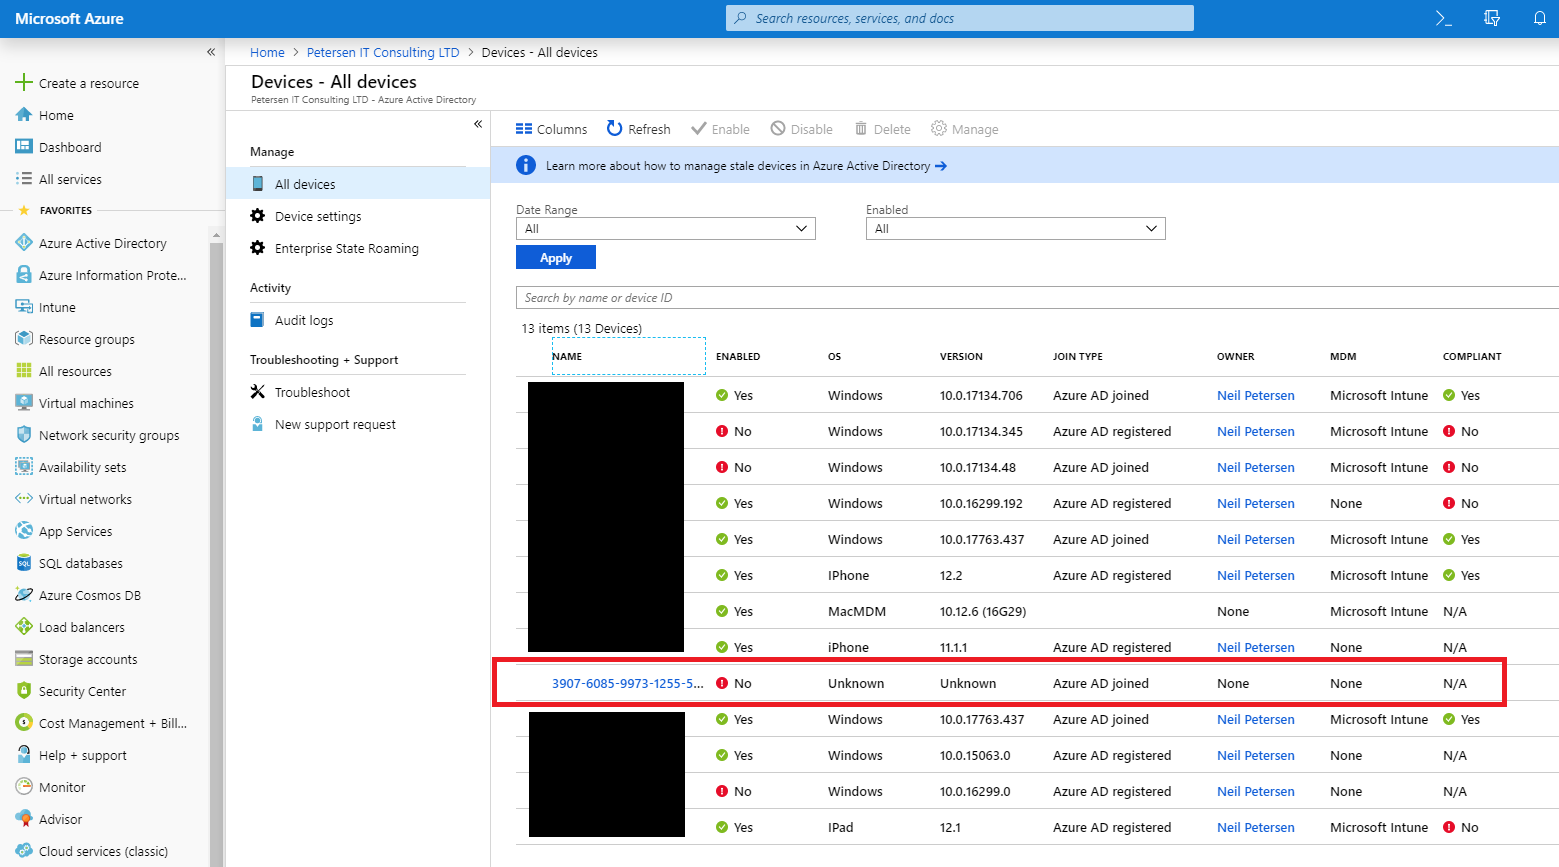
Within the Azure Portal you will see the device as Azure AD Joined – (https://portal.azure.com/#blade/Microsoft_AAD_IAM/DevicesMenuBlade/Devices/menuId/)
Now to test the autopilot profile
(In this section please ensure that the Virtual Machine is connected to a network with internet Access)
If not already, shutdown the Virtual Machine

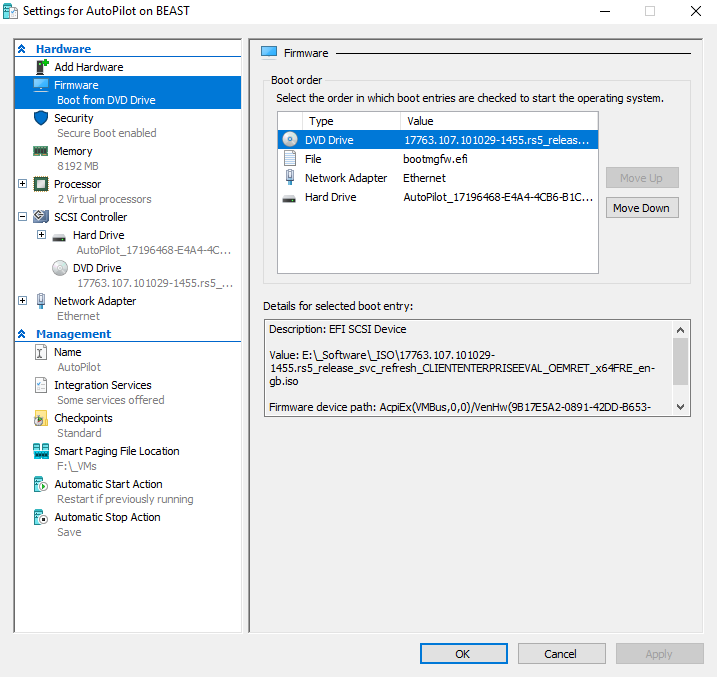
Within the Virtual Machine settings, bring the Windows 10 ISO to the top of the boot order within the Virtual Machine settings, Select the DVD Drive and select Move Up
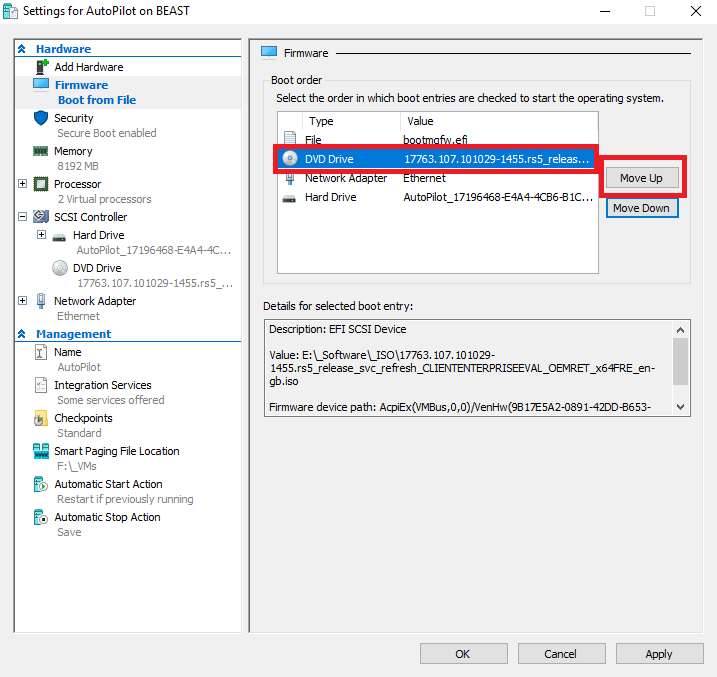
Then select OK
Boot the Virtual Machine from the ISO
Enter your regional settings and select Next
Select Install Now
Check the I accept the license terms check box and select Next
Select Custom
As we had already installed windows we are going to clear the existing partitions, select each partition (one at a time) and select Delete.

When prompted with ‘This partition might contain important…..’ select OK
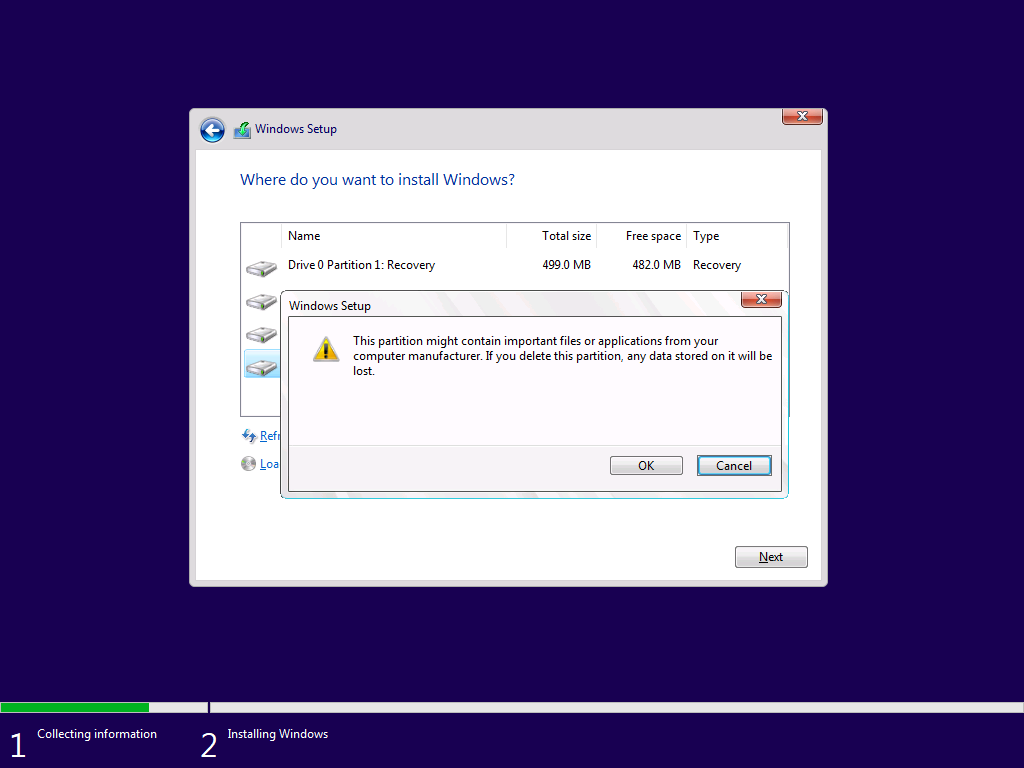
You should now have a nice clean disk and select Next
Windows will now go through the installation process


Select your region and select Yes
If required add a keyboard layout or select Skip
If required add a second keyboard layout or select Skip
Now we see that AutoPilot has recognised the device and has presented us with our corporate logo and is requesting our corporate email
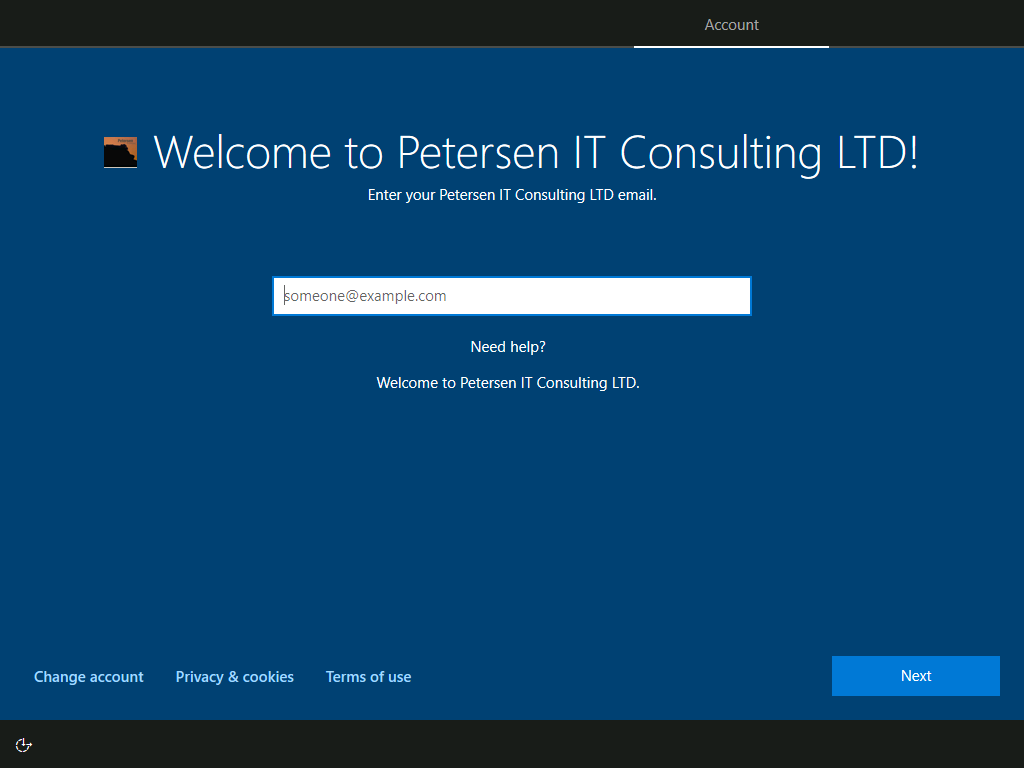
Enter this information and select Next

Enter your password and select Next

(If you have MFA enabled as I do, then you will be requested to approve the request)
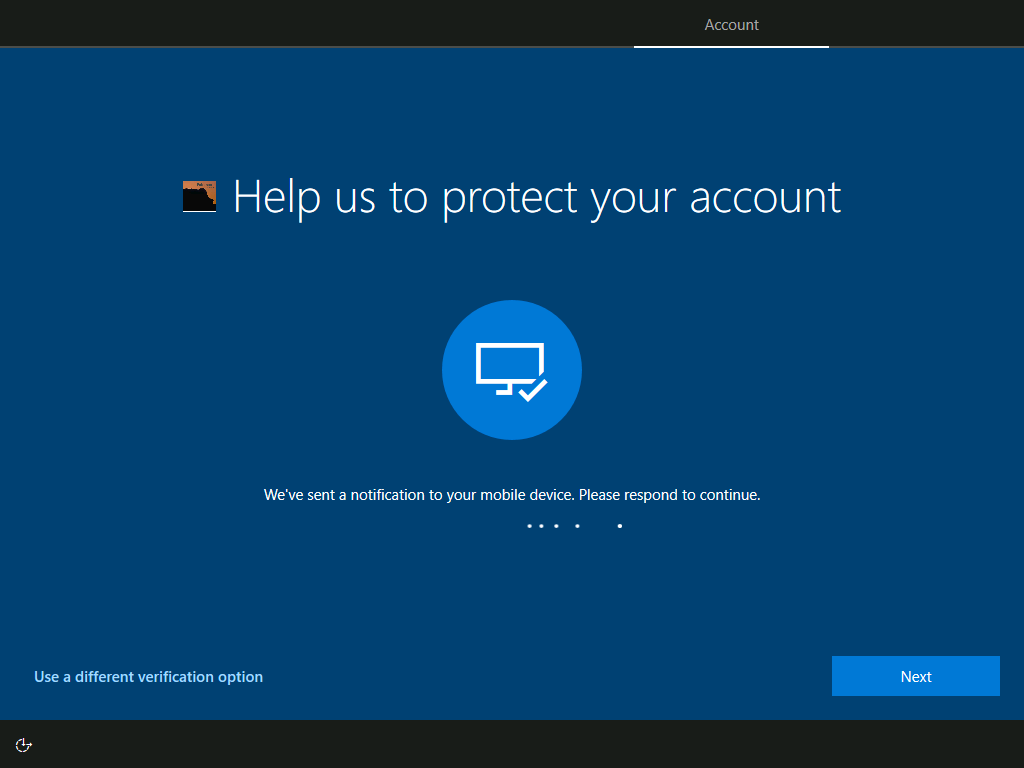
Select Approve

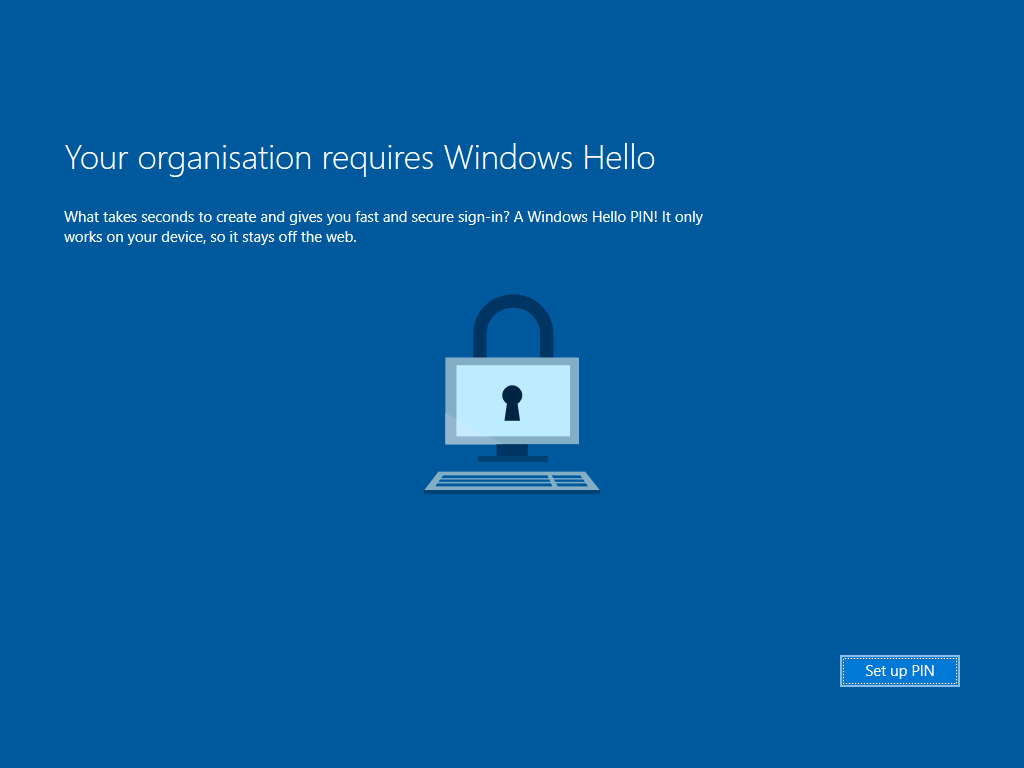
I have Windows Hello configure on my tenant so if require, select Set up PIN
enter a PIN and confirm your PIN

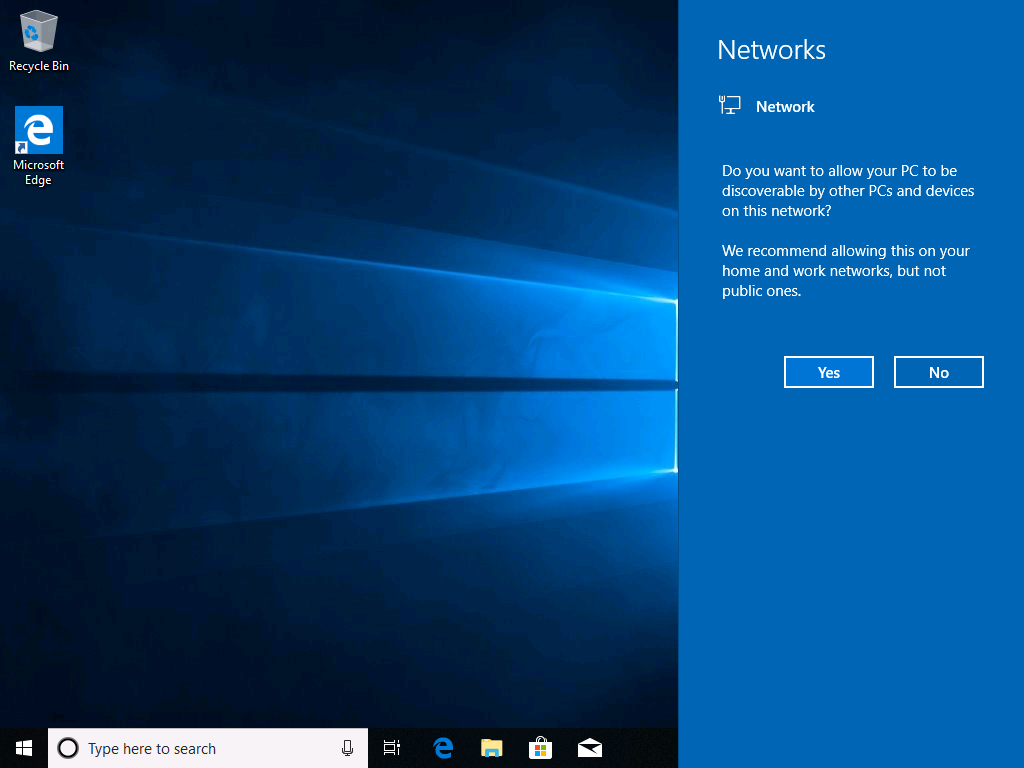
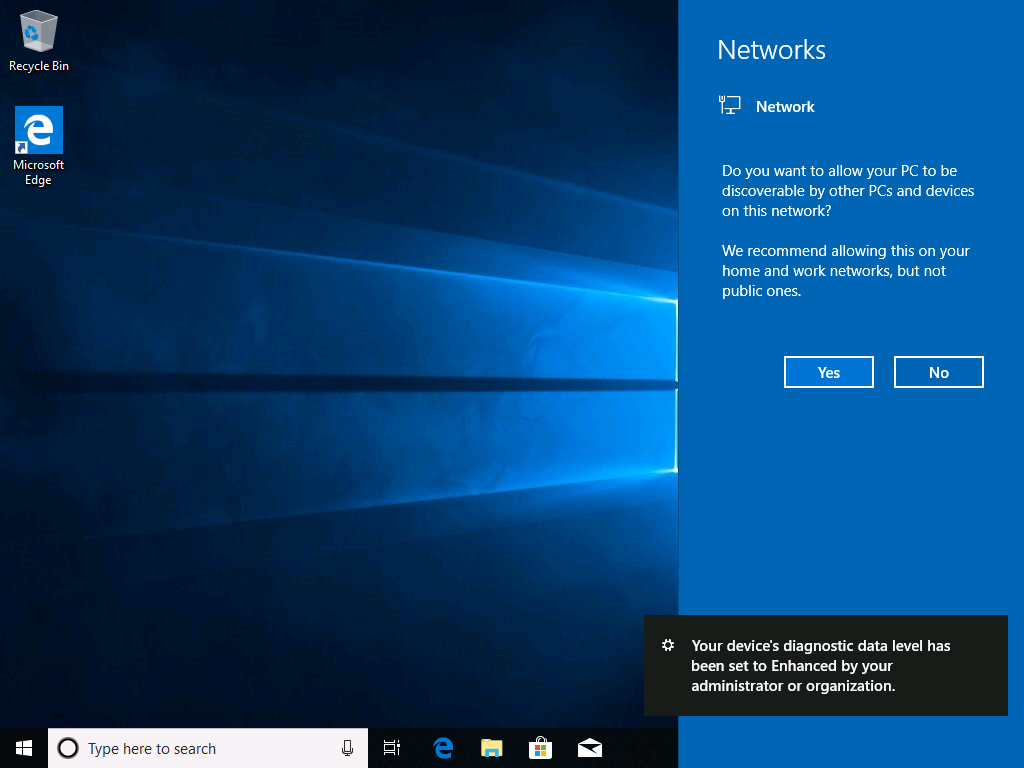
We are now are the desktop with an AutoPilot enrolled device 😊
Depending on your configuration you will see a message about your diagnostic data level
From a PowerShell session you can confirm the device is Azure AD joined using the DSREGCMD /STATUS command

Within the Azure portal (https://portal.azure.com/#blade/Microsoft_AAD_IAM/DevicesMenuBlade/Devices/menuId/)you will see that the device is now registered as ‘Azure AD Joined’ with has Intune configured as it’s MDM
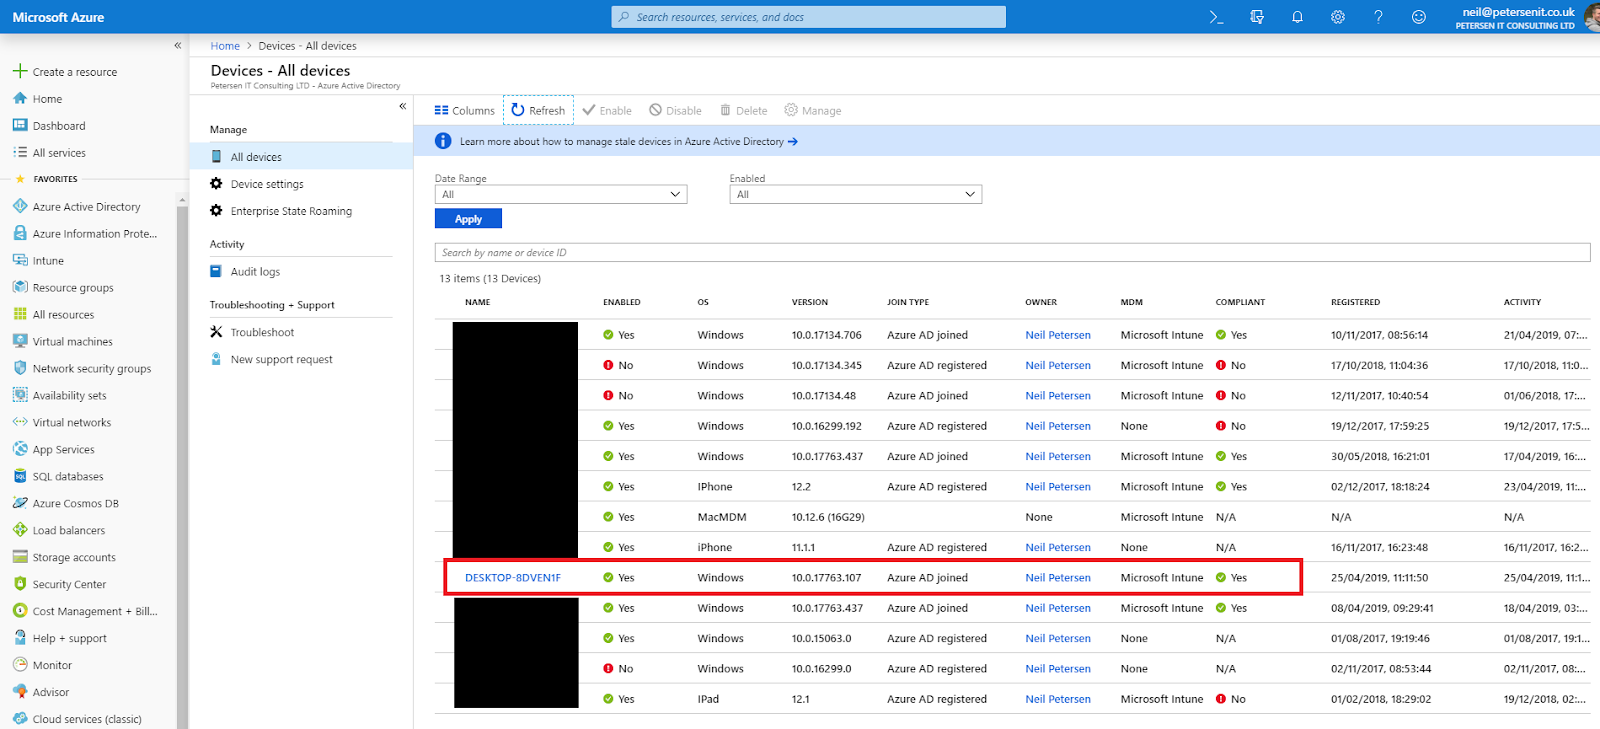
The Name has also changed from when we originally Imported the device, from this
To this
And for Part One that’s all. In Part two we’ll start looking at application deployment………..
If you have any comments just post them below and I’ll answer when I can.
****** Update *******
Optionally you can also use the Enrollment Status Page (Preview) feature from within the Azure Portal / Intune / Device enrollment - Windows Enrollment settings:

This will give you a nice status page when deploying AutoPilot devices


Note you can select Continue anyway and this will allow access to the desktop while any assigned applications are being deployed.
Comments
Post a Comment